{{ errorMessage }}
Gratis verzending
Gratis verzending voor alle bestellingen boven €65.
Snelle levering
Bestel vóór 15.00 uur en wij verzenden dezelfde dag. We leveren alles zo snel mogelijk.
Retourperiode
We hanteren een retourperiode van 14 dagen. Problemen? We staan voor je klaar om je te helpen.
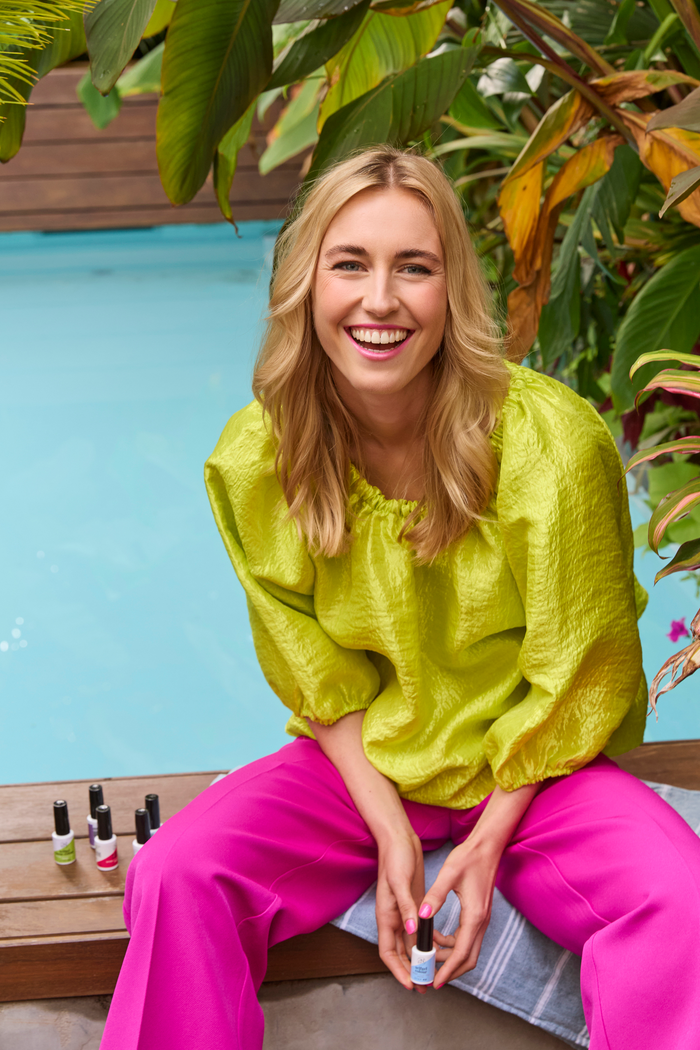
At PN Self-care we make confidence effortless.
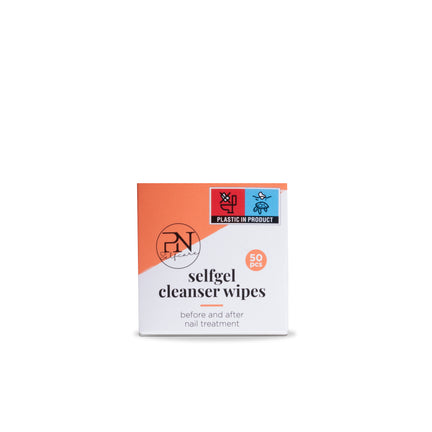
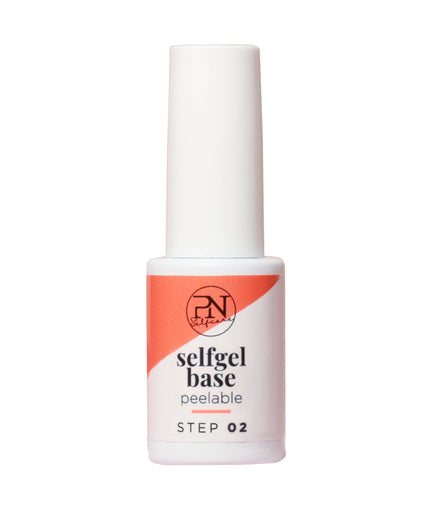
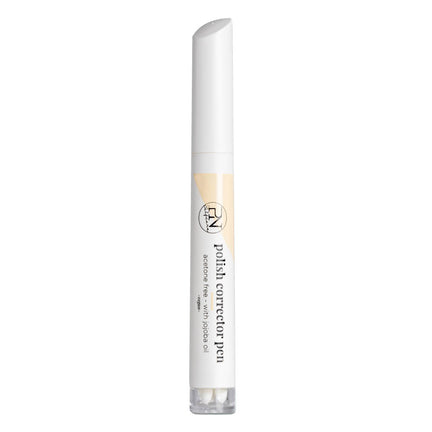
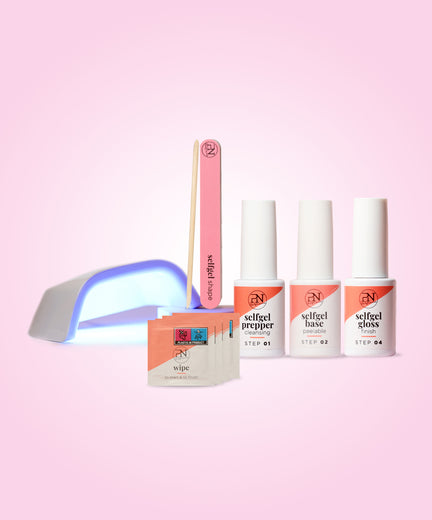
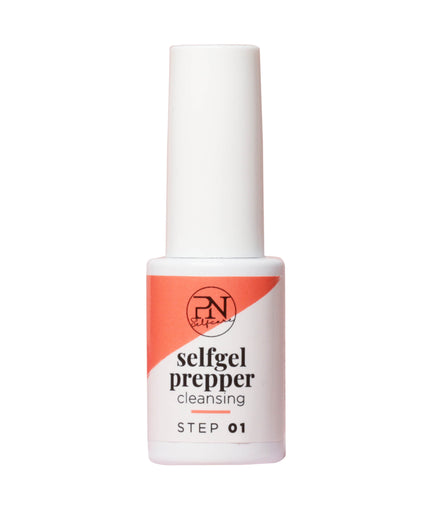
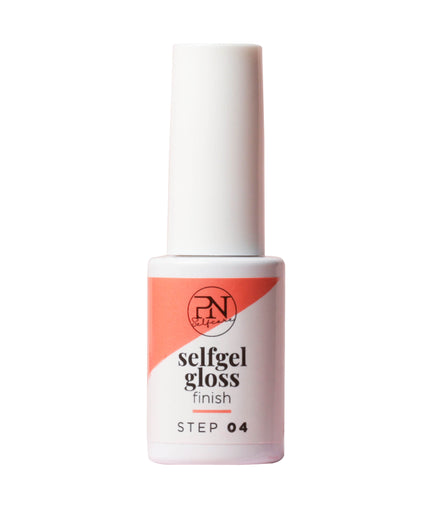
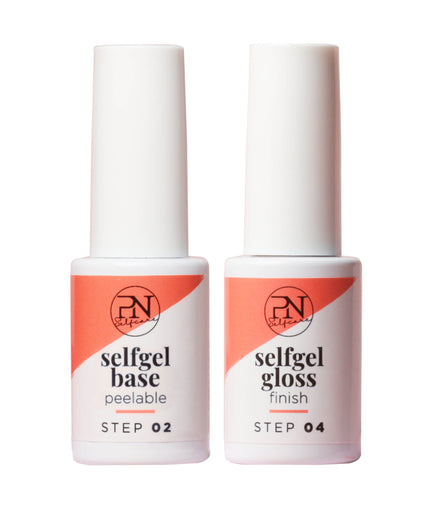
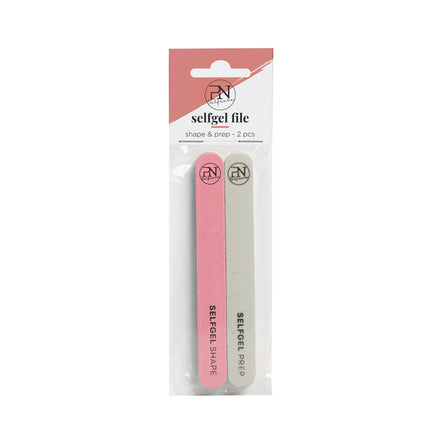
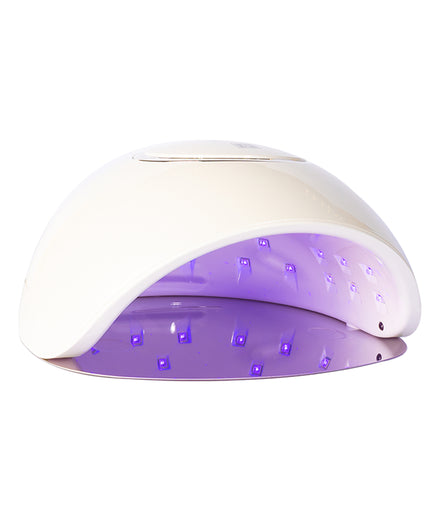
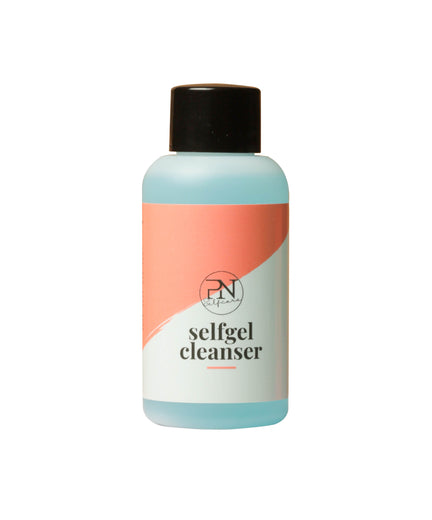
We have designed our products specifically with DIY at home in mind, including our Selfgel Starter Kit, which is a gel nail kit that contains all you need to achieve salon-quality results in the comfort of your own home.
What is self-gel?