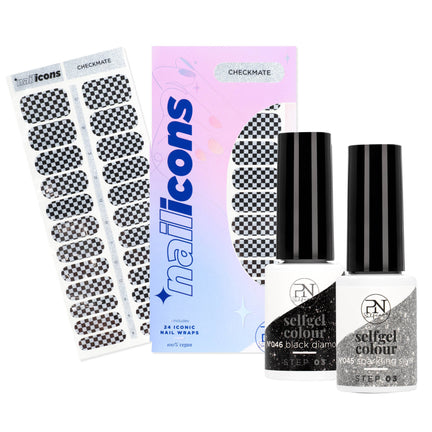
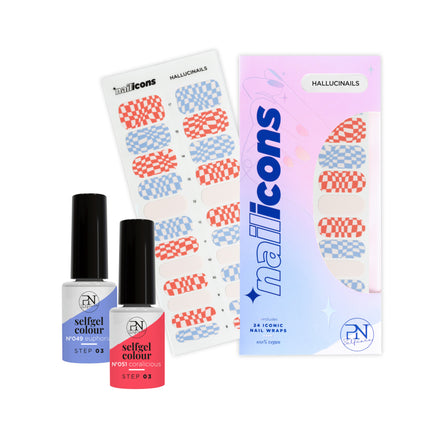
If you're looking for an easy way to add some flair to your nails without spending hours at the salon, Nail Icons are the perfect solution! These cute and creative nail stickers let you achieve a fun, stylish manicure in no time. Whether you're in the mood for a pop of design or want to add a little extra sparkle, Nail Icons are a great way to express your personality on your fingertips.
In this blog, we’ll walk you through the simple steps of how to apply Nail Icons. And for those who prefer a visual guide, there’s a video following this post that shows exactly how it's done.
Step 1: Push Back Your Cuticles
Before you start, make sure your nails are clean and ready for the Nail Icons. The first step is to gently push back your cuticles using a cuticle pusher. This step is important because it helps create a clean surface for the stickers to adhere to, ensuring they stay in place longer. Take your time with this part to avoid damaging your cuticles, and make sure you’re working with nails that are completely dry.
Step 2: Choose Your Nail Icons
Next, it’s time to decide which design you want on each nail. Nail Icons come in a variety of designs, so choose the one that fits your mood or style for the day. Lay out the Nail Icons and figure out which one will go on each finger. You might want to pick different designs for each finger or go with a cohesive theme—either way, make sure you're set with your choices before you begin applying.
Step 3: Apply the Nail Icon to Your Nail
Once you’ve chosen the right design for each finger, carefully peel the Nail Icon from its backing. Be sure to handle it by the edges to avoid transferring fingerprints onto the design itself. Then, place the sticker or icon onto your nail, aligning it to the base of your nail where you want the design to sit. Gently press down the icon, smoothing it out with your finger or a tool to ensure that it sticks well and lays flat.
Step 4: File Off the Excess
After applying the Nail Icon to your nail, there’s usually a bit of excess sticker that hangs over the edges. To tidy up, take a nail file and gently file away the excess. Hold the file at a slight angle and file in a downward motion along the edge of the nail to remove the leftover sticker. This will leave your nails looking neat and polished, with the icon perfectly shaped to fit the nail.
Step 5: Remove the Excess Sticker/Icon
Once you’ve filed away the excess, carefully peel off any remaining parts of the sticker or icon that may be hanging over the edge. The design should now be perfectly fitted to your nail, leaving a sleek, clean look.
Step 6: Repeat for Each Finger
Continue this process for each nail, choosing and applying a Nail Icon for every finger. Take your time to make sure each design is centered and smooth, and don’t forget to file and remove the excess for every nail.
And You’re Done!
That’s it! With just a few simple steps, you now have a gorgeous, unique manicure that’s sure to turn heads. Nail Icons make it so easy to achieve a fun, fashionable look without needing any fancy skills or tools.
Ready to See It in Action?
To help you better understand the process, check out the video below. It’ll show you exactly how to apply Nail Icons step by step. Watch the tutorial and follow along, and soon you’ll be rocking beautiful, design-filled nails with minimal effort!