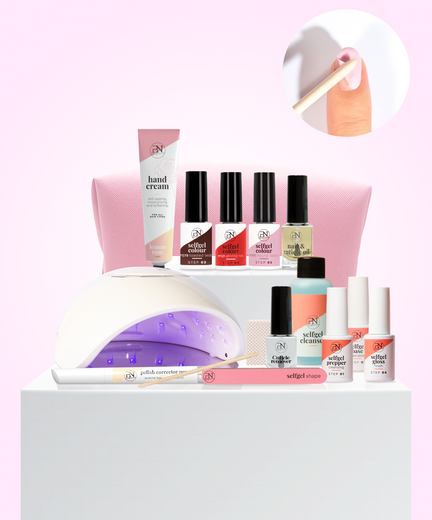
If you’ve been dreaming of a flawless manicure from the comfort of your own home, you’re in the right place! PN Selfcare nail polish is the perfect solution to give your nails a salon-quality finish. With just a few simple steps, you can create beautiful, long-lasting nails that shine. This step-by-step guide will show you exactly how to apply PN Selfcare nail polish, including some tips and tricks from a helpful video tutorial.
Step 1: Push Back Your Cuticles
Before you even think about color, it's important to take care of your cuticles. The video starts with a cuticle pusher, which is the first tool you’ll need. Gently push your cuticles back to give your nails a clean and polished look. This step not only makes your nails appear longer, but it also helps to create a neat and professional finish.
Step 2: File Your Nails to the Perfect Shape
Next, grab a nail file and begin shaping your nails. Whether you prefer a square, round, or oval shape, make sure to file in one direction to avoid causing damage to the nail. It’s crucial to ensure each nail is even and symmetrical, so take your time with this step. A well-shaped nail provides the perfect foundation for your PN Selfcare polish.
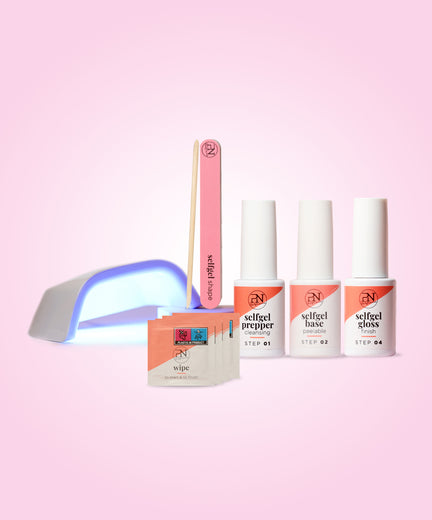
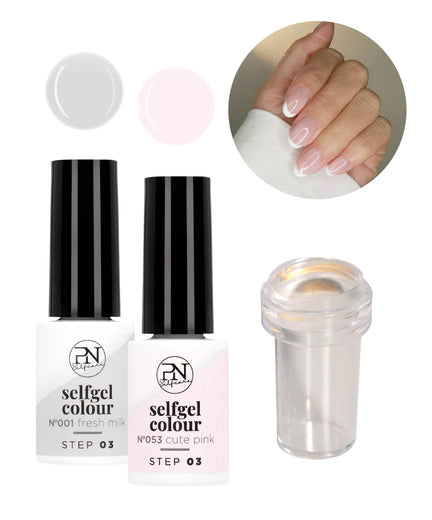
Step 3: Apply the Perfect Base
Now that your nails are prepped, it's time to apply the base coat. This important step helps protect your natural nails from staining and gives your color a smooth surface to adhere to. Apply a thin layer of the base coat, making sure to cover the entire nail. This also helps the color go on more evenly and helps your manicure last longer. Let it dry completely before moving on.
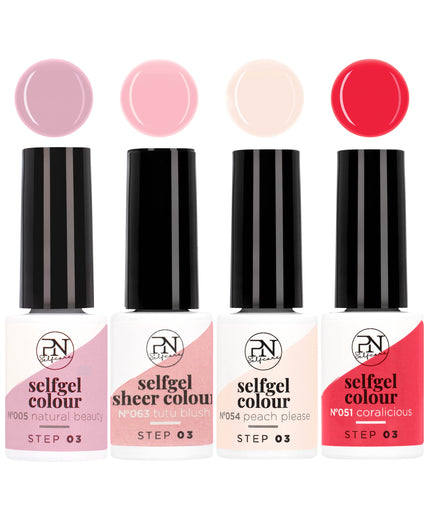
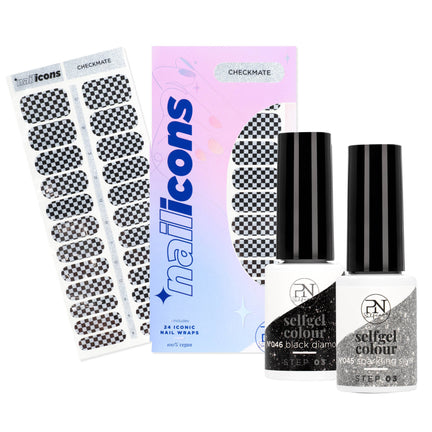
Step 4: Choose Your Favorite Color
The fun part begins: picking your favorite PN Selfcare nail polish color! Whether you’re in the mood for a classic red, a soft nude, or something bold, there’s a perfect shade for you. Once you’ve chosen your color, apply the first coat with a steady hand, starting from the base of the nail and moving towards the tip. Make sure to apply it evenly and not too thickly.
Step 5: Apply a Second Layer
To get the most vibrant color, apply a second layer of the nail polish. This ensures that the color is rich and completely opaque. Make sure to wait 2 minutes for the first layer to dry before applying the second one. If you rush this step, the layers could smudge and leave you with uneven color. After the second layer, allow it to dry for 2 minutes as well.
Step 6: Finish with Forever Shine
The final touch in your nail care routine is the top coat. PN Selfcare’s Forever Shine top coat is designed to give your nails that professional, glossy finish. Apply a thin layer over the entire nail, ensuring every edge is covered. This top coat seals in the color, adds a beautiful shine, and ensures your nails stay chip-free for days. Allow it to dry for 2 minutes and enjoy your fresh manicure!
Ready to get gorgeous nails!
Applying PN Selfcare nail polish at home is a simple yet effective way to achieve gorgeous, salon-worthy nails without leaving your house. By following these easy steps, you’ll have nails that are not only beautiful but long-lasting as well. And remember, patience is key! Let each layer dry before moving on to the next for the best results.
If you’d like to see this process in action, check out the video tutorial for a visual guide. Now go ahead and treat yourself to a perfect manicure with PN Selfcare nail polish!