{{ errorMessage }}
Free Shipping
Free shipping on all orders placed above €65.
Speedy Delivery
Order before 3 pm and we ship the same day. We deliver everything as fast as possible.
Return Period
We have a 14-day return policy. Any problems? We're here to help you out.
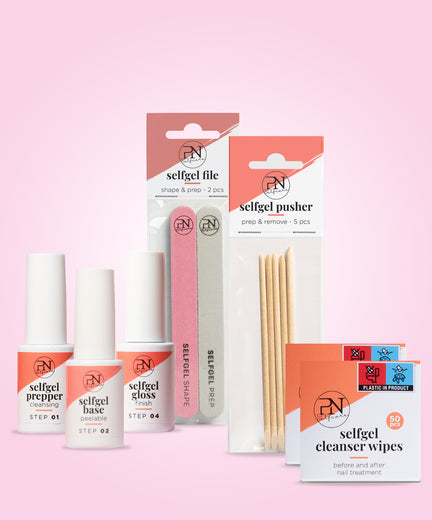
At PN Self-care we make confidence effortless.
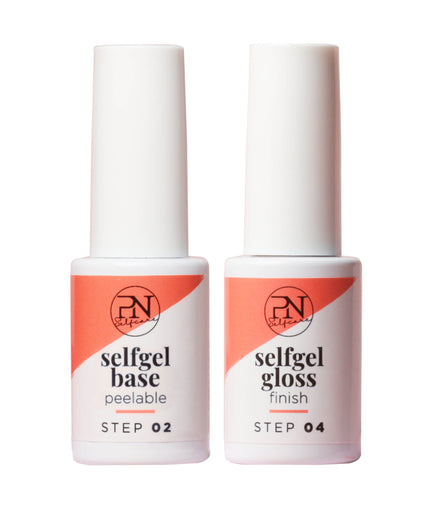
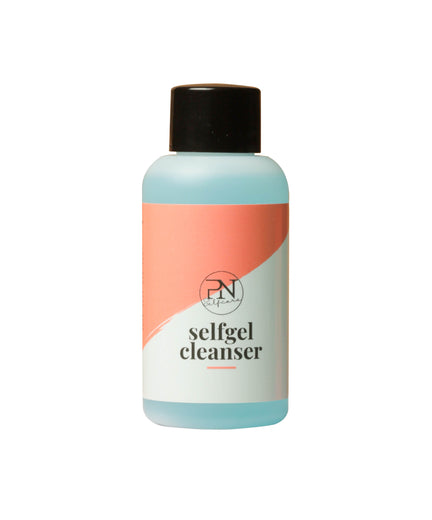
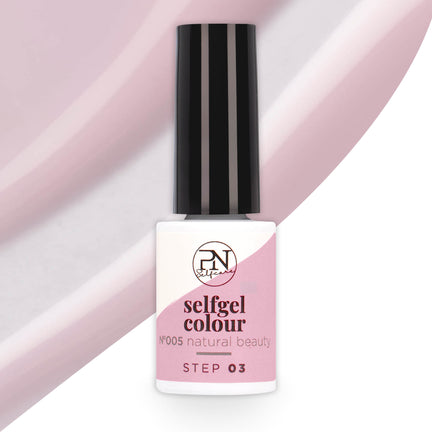
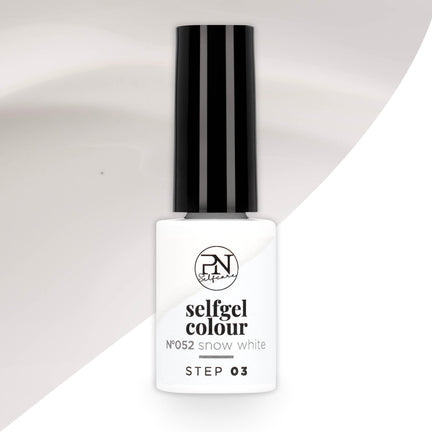
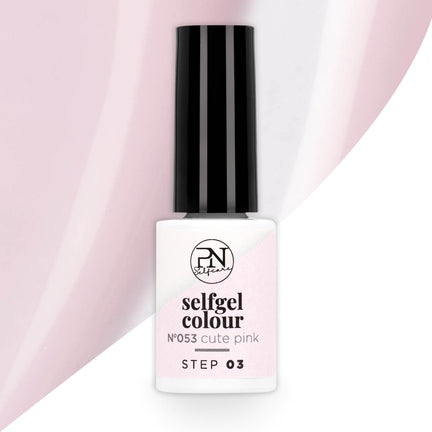
We have designed our products specifically with DIY at home in mind, including our Selfgel Starter Kit, which is a gel nail kit that contains all you need to achieve salon-quality results in the comfort of your own home.
What is self-gel?