A smooth, bubble free gel polish? Yes please! But how frustrating is it when you’ve just finished your nails and... there they are again, air bubbles. Don’t panic. With the right tips, you’ll be applying gel polish like a pro in no time.
Why do bubbles appear in gel polish?
Bubbles in your gel polish are usually caused by several factors, all of which are easy to avoid with a little extra care.
- Thick layers: Applying too much product at once prevents air from escaping properly. This causes bubbles to get trapped during curing.
- Poor prep: Dirt, dust, or oils on the nail plate prevent proper adhesion, which lets air sneak underneath the polish.
- Shaking the bottle: This may seem harmless, but it introduces tiny air bubbles into the formula. These will show up on your nails during application.
- Insufficient curing time between layers: If you apply a new layer too quickly, the previous one doesn’t have time to cure properly. This leads to poor adhesion and trapped air.

How to prevent bubbles in your gel polish
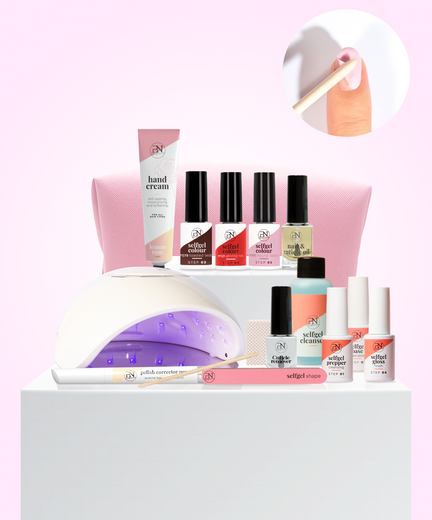
1. Prep your nails properly
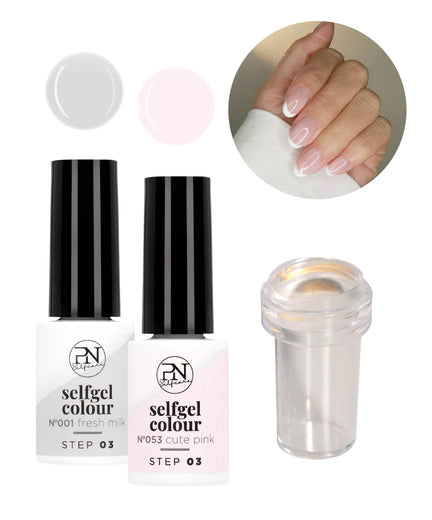
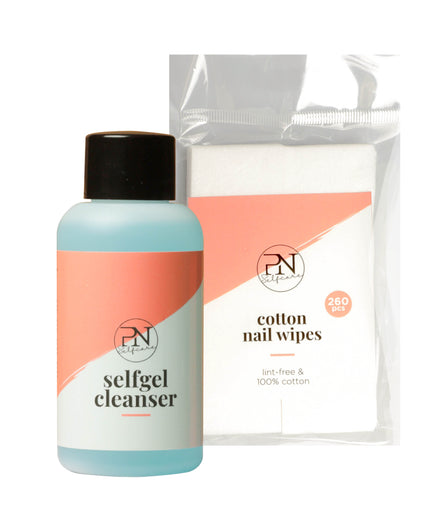
A perfect gel manicure starts with a perfect base. Always clean your nails thoroughly using nail cleanser or alcohol to remove dirt, oil, and dust. Gently push back your cuticles to prevent polish from sticking to loose skin, as this can cause lifting. Use a fine buffer to lightly remove the natural shine from your nails so the polish adheres better. Avoid touching your nails afterward to keep them free from oils. Good prep doesn’t just prevent bubbles, it also helps your manicure last longer.
2. Apply thin, even coats
Thick coats may look more opaque, but they ruin your finish. Gel polish is made to be applied in several thin layers. Thick layers don’t cure properly, which causes bubbling or wrinkling. Always use smooth, even strokes and make sure your brush isn’t overloaded. Three thin coats will give better results than one thick, messy layer filled with bubbles.
3. Don’t shake, roll
It’s tempting to shake the bottle before use, especially when the color has settled. But shaking introduces air into the formula, and that air shows up as bubbles on your nails. Want to mix the polish well? Gently roll the bottle between your palms. This activates the ingredients without creating extra bubbles. It might take a bit more time, but the result is much better.
4. Let each layer cure completely
Patience is key. Each gel polish layer needs to cure properly, depending on your lamp and the brand. If you apply a new coat too soon, the previous one might not be fully dry. This traps uncured polish and causes bubbles or uneven texture. Make sure your hand is fully under the lamp and consider curing a few seconds longer. Not sure if it's cured? Wait a bit more. This prevents bubbles, wrinkles, or sticky spots.
5. Avoid heat and humidity
The space you work in affects your results. High temperatures can make the polish thinner and impact drying time. Humid conditions, like a steamy bathroom or a hot summer day, can also interfere with the formula. This leads to bubbles or uneven surfaces. Choose a cool, dry, well-ventilated area. Working in warm conditions anyway? Use a fan or wait for a better moment.
In conclusion
With a little care and attention, you can avoid those annoying bubbles in your gel polish. Let’s be honest, a flawless manicure instantly makes you feel more confident. So go ahead, paint it smooth, bubble free, and fabulous!