A good preparation of your nails ensures that your manicure looks better and lasts longer. Read more to discover why this is so important and how to do this the right way!
How to prepare nails for Gel Polish
As often said: a good start is half the job! Of course, this also applies to the application of Gel Polish. Good preparation of your nails ensures that your manicure looks better and lasts longer. Find out why this is so important and how to do this the right way.
Why prepare your nails for Gel Polish?
When Gel Polish does not adhere well, preparation - or lack of - is often the cause. It is very important to prepare your nails well, so that your Gel Polish will last longer. In addition, it ensures that your own nails remain healthy and reduces the risk of damaged nails. When your nails are properly prepared, you can also apply the Gel Polish more beautifully and tightly. Spending enough time preparing your natural nails has numerous benefits, so don't skip this step.
How to prep nails for Gel Polish step by step
To properly prepare your nails, we have set up a short step-by-step plan. If you follow this, you will assure yourself of a beautiful manicure and significantly increase the wear time!
Step 1: How to prepare cuticles
Start with your cuticles. They are often forgotten, but taking care of your cuticles will help your manicure stay on more firmly and gives you good access to your entire nail bed. Use a Cuticle Pusher or the Prep & Remove Pusher to gently push back your cuticles. Do this with the flat side. Then, gently go under the cuticle with the pointed side to remove dead skin cells. This will provide more surface area to paint your nails and allow you to get closer to your skin. That way, it won't look like you have any outgrowth. You also avoid painting over the cuticle and lifting the Gel Polish, which makes it come off faster.

Step 2: How to shape your nails
Choose the nail shape that suits you and file your nails into that shape. Whether that is rounded or more square, it is important to file from the side of your nail towards the center each time. This is the best way for your nail to maintain its strength.
Roughen your nails a bit with a soft file. This will ensure better adhesion. Be sure not to roughen too much to prevent your nails from becoming too thin.

Step 3: How to clean nails
One of the main reasons that your Gel Polish comes off, is that your nail bed is still too greasy or there is dirt in between. Therefore, don't forget to clean your nails first. This will ensure that they are grease-free and there is no residual dirt or dead skin cells.
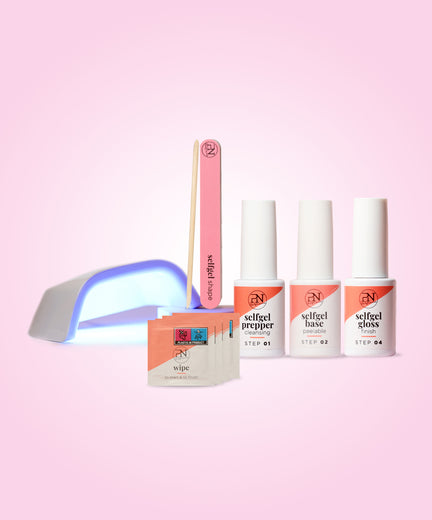
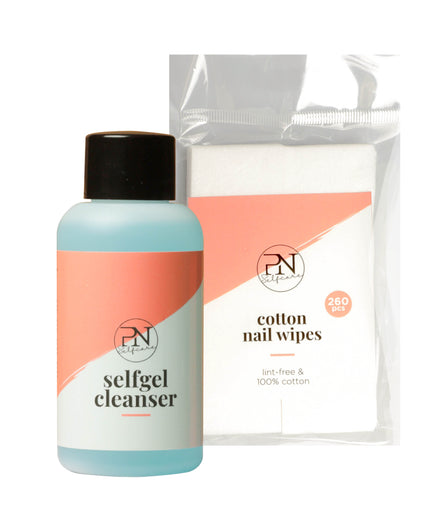
The best way to clean your nails is to use Cleanser Wipes. These Wipes are moisturized and contain the product you need to properly prepare your nails for a Gel Polish manicure. Always do this step only after pushing back your cuticles and filing, so your nails don't get dirty again.

Step 4: How to prep your nails
When all your nails are clean and grease-free, we recommend you apply the Selfgel Prepper. This will provide extra adhesion between the nail and the Gel Polish. Allow the prepper to air dry completely. Make sure you definitely don't touch your nails now, so you have a good, clean base to apply the Gel Polish on.

Applying a base coat: is base coat necessary for Gel Nail Polish?
After you've followed these steps, it's time to apply the Selfgel Peelable Base. You may be asking yourself, "Is a Base Coat still necessary after such good preparation?” The answer to this is yes!
The Base Coat is in fact the base layer for your Gel Polish manicure. This product attaches itself well to the nail. The colour, in turn, adheres to this Base Coat. In addition, the Base Coat ensures that your nails do not discolour, in other words, your nails are protected. It ensures a nice even nail, so the products stay in place. So you simply cannot miss your Base Coat!
Apply this product over the entire nail in a thin layer. Make sure not to touch the cuticles, but be sure to apply it to the top (free edge) of your nail. This step should not be cured under the lamp.
By the way, did you know that thanks to the Selfgel Peelable Base, you can peel off your Gel Polish after 15 days, without damaging your natural nails in the process? So easy!
After applying the Base Coat, proceed to apply your favorite Gel Polish colour. This is applied in two thin coats and must be cured under the LED lamp. Then you finish your manicure with the Selfgel Finish that you also cure under the lamp. This layer ensures that your Gel Polish is protected and gives a beautiful shine for 21 days. After following these steps you can enjoy a beautiful manicure that lasts up to 21 days.
Want to know more about applying and removing Selfgel Gel Polish Colour? Read our handy tutorial!

Get prepared with Selfgel base products
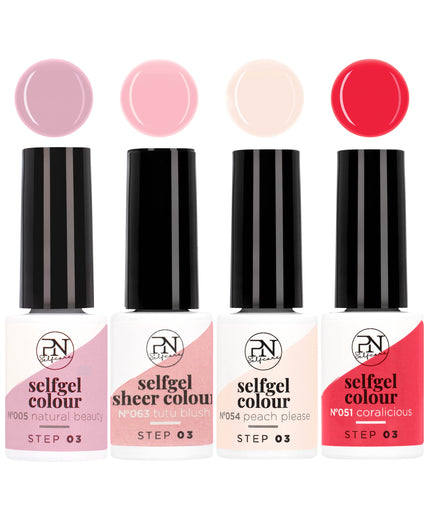
Are you looking for quality products to do your Gel Polish manicure and preparation? Then be sure to check out our PN Selfgel collection.
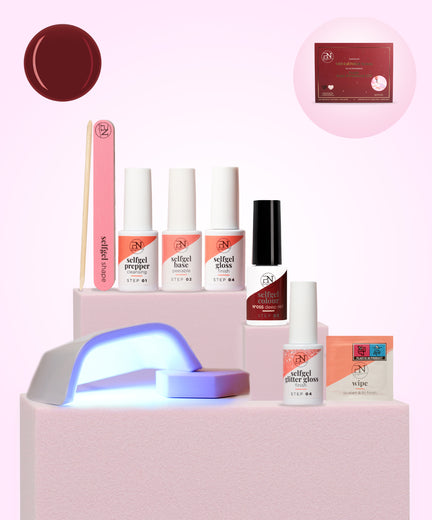
Everything you need to start a full Gel Polish manicure, you will find in this Selfgel kit. When your supply of base products needs to be replenished or you want a new colour, you can always buy them separately.
We are super curious about your Selfgel manicure! Post your photos on Instagram or Facebook and tag us via @pn_selfcare or mention #pnselfcare. Then we'll be happy to share them!
