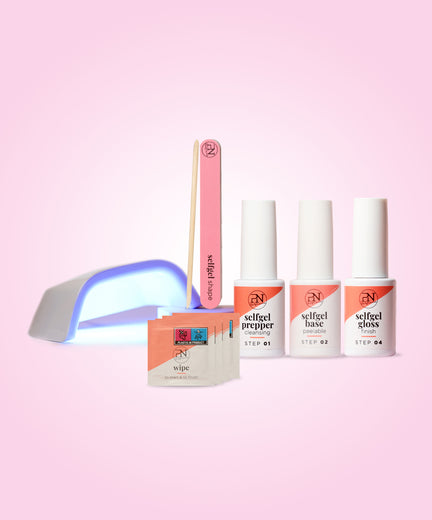
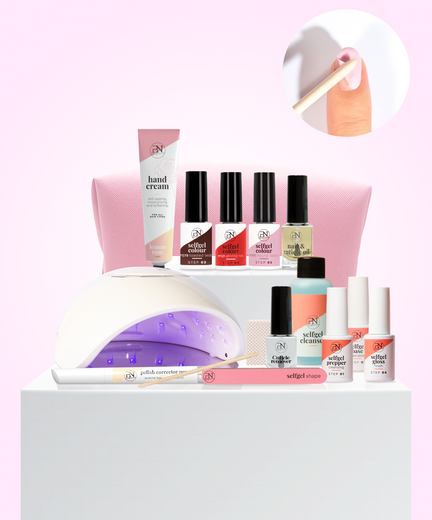
How to use the PN selfgel kit at home. Follow these 4 steps and see how easy it goes. You can do it!
Selfgel tutorial
Apply and remove selfgel
- Gently push back the cuticles with the PN Prep & Remove Pusher.
- File the nails into the desired shape with the pink side of the PN Shape & Prep File.
- Only if you have greasy shiny nails: slightly buff the nail plate using the grey side of the PN Shape & Prep File. This will prolong your Selfgel.
How to apply Selfgel?
Apply one hand at a time. Complete application on one hand before starting on the other hand. Every layer needs to be cured separately in the PN SelfGel LED lamp.
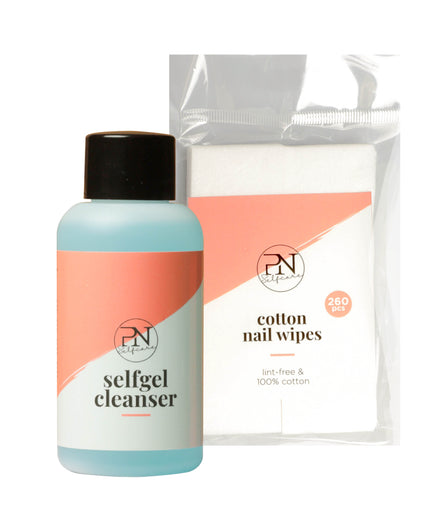
- Wipe to start: take a PN Cleanser Wipe to thoroughly clean all 5 nails. Now you are ready to start applying the products step-by-step.
- Apply a small dose of PN Selfgel Prepper on all 5 nails. Press the product into the nail using the application brush. Start from the free edge of the nail and move towards the cuticles. Let it dry for a few seconds. You do not need the lamp for this step.
- Apply a layer of PN Selfgel Peelable Base on all 5 nails. Let it dry for about 30 seconds. You do not need the lamp for this step.
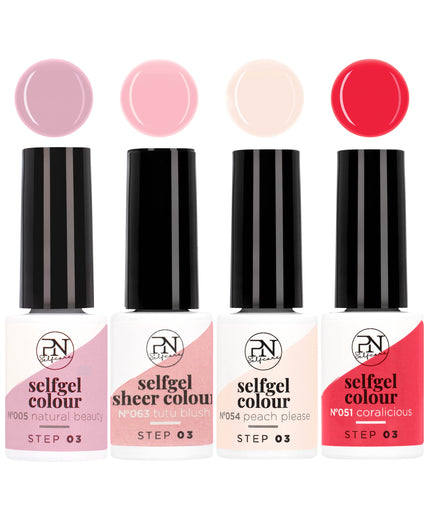
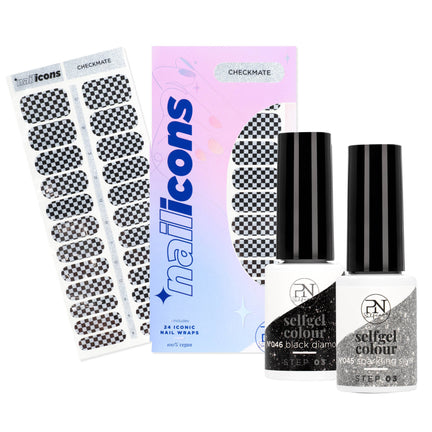
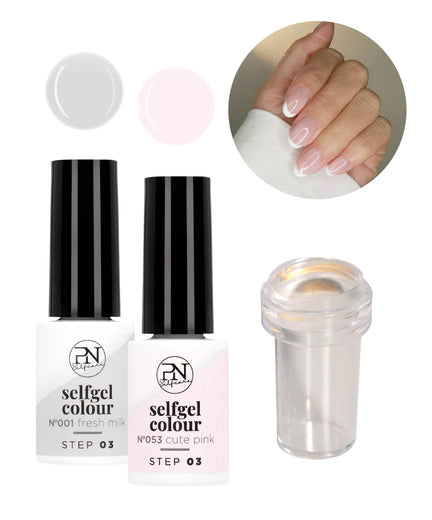
- Apply a first layer of your PN Selfgel Colour on the thumb and cure for 30 seconds in the Selfgel LED lamp. Then apply the colour on the remaining four nails of the same hand and cure for 30 seconds. Repeat with a second layer of your PN Selfgel colour.
- Apply a layer of PN Selfgel Gloss on your thumb and cure for 30 seconds in the Selfgel LED lamp. Then apply a layer of gloss on the remaining four nails and cure again for 30 seconds.
- Wipe to finish: remove the remaining sticky layer on all nails using a PN Cleanser wipe to reveal the impeccable shine.
TIP! If you experience a heat sensation during curing in the lamp, use the 60” low heat mode instead of the 30” mode
(the lamp automatically switches when touching longer).