Nail Wraps are an easy way to get stylish, printed nails without all the hassle. Find out everything you need to know about applying Nail Wraps here!
The Hottest New Beauty Trend: Nail Icon Nail Wraps
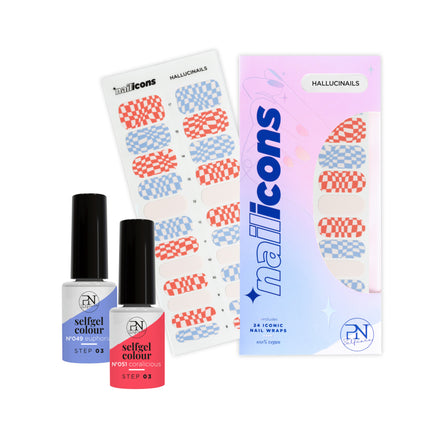
Want your nails to look iconic? Then we’ve got just the thing for you! The new Nail Icon Nail Wraps are easy to apply and come in different prints so you can have your nails match your bubbling personality any time you like. It’ll be like you’ve just had your nails done by your favourite nail stylist!
What are Nail Wraps?
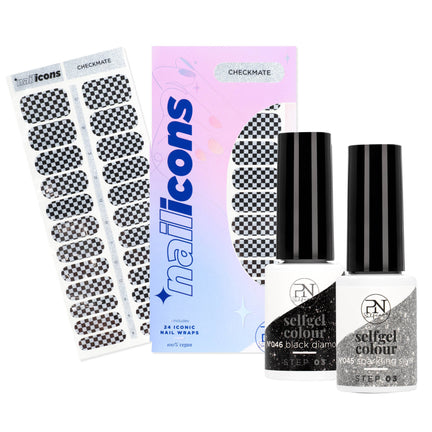
Nail wraps are ultra-thin polish strips to give your nails some extra sparkle. They’re self-adhesive, so the application process is hassle-free. With 12 designs to choose from, these nail art wraps will make your nails stand out every time.
But the best thing? They last for up to 10 days! Perfect for a short getaway or a festival weekend! Because they’re also easy to remove at home, it’s going to be a colourful summer – no doubt! And by the way, Nail Icons are vegan and cruelty-free. What’s not to love?

How to apply Nail Wraps: step by step
Are you a first-timer? No worries! In this article, we’ll tell you all about how to apply nail wraps in an easy-to-follow step-by-step tutorial! In 15 minutes or less, you can have your nails looking cooler than ever! Ready?
Nail Prep
- It’s me time! Find a place where you can relax for a couple of hours. The adhesive needs to dry completely after application, so taking a bath after application is a no go. Our suggestion: binge-watch your favourite Netflix show!
- Wash your hands and push back your cuticles. Trim excess skin around the cuticles.
- Make sure your nails are clean and dry, without any leftover nail polish or gel, and remove oil by using a PN Wipe, for example.
Select the Right Nail Wrap Size
- Our Nail Wraps come in many sizes to fit all shapes and lengths of nail. Choose the right size for every nail. Make sure the sticker won’t stick to the skin or cuticle anywhere. When in doubt, choose the smaller size.
- Our Nail Wraps are quite long. You can cut them in half and use the other side on another nail.
- Remove the protective foil. Try to avoid touching the sticky part of the Nail Icon!
Apply
- Apply the sticker to the nail as close as possible to the cuticles, without touching them. Make sure you stick the nail wrap only to the nail surface and without touching the surrounding skin. Remove all air bubbles by flattening the Nail Icons.
- Place the file under the nail at an angle of 45° and file carefully but in a smooth movement to remove the excess Nail Wrap. If your nails are very short, you can use a clipper and a file to shape your nails afterwards.
- Seal your iconic look with a nail polish top coat, such as PN Forever Shine, for extra-long hold and protection - especially if you’re going to use sunscreen or spend a lot of time in the pool!
How to remove Nail Wraps
- Time to say goodbye to your iconic nail look? All you need is nail polish remover and a little cotton pad. Soak the nail wrap for a few seconds and then gently rub it off.
- A little bit of PN Nail Serum or PN Nail & Cuticle Oil will pamper your nails after wearing Nail Icons! Welcome back silky-smooth natural nails!
Nail Wrap Care Tips
- If the nail edge starts to show some wear, you can simply file your nails again to make it look like you’ve just applied them!
- Always use nail polish remover to remove your wraps! Don’t tear off your Nail Icons because it can damage the natural nail.
PN Selfcare’s Iconic Nail Wraps
Over to you! Our unique Nail Icon Nail Wraps have just dropped, and we have the feeling they’ll be going fast! With festival and holiday season just starting, we’re sure that these iconic nail wrap designs will colour your summer!
Find your favourite Nail Icons in our webshop and don’t forget to share your nail look with us on social media! Tag @pn_selfcare for a chance to get featured.
Get your nails festival ready!
Check out the Nail Icons collab with Europe's trendiest beach festival: WECANDANCE
